


CGDI MB programmer is able to change W211 ELV on bench, the whole process is as simple as a piece of cake.
Please note that:
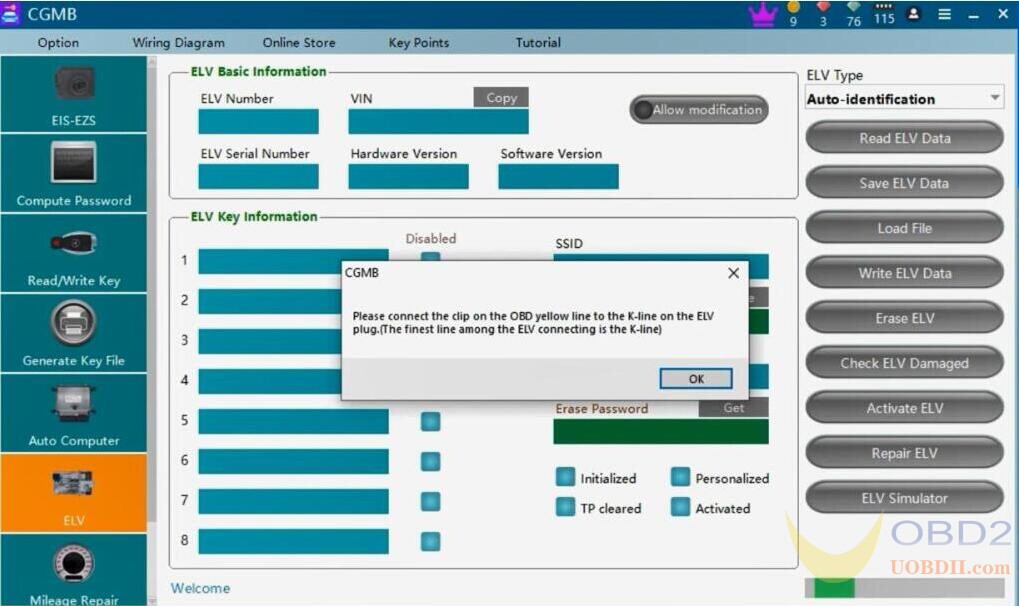
1.Follow CGDI MB software diagram to connection (W211 need gateway)
2.The OBD yellow line need to connect the ELV plug thinest wire
3.Read out the ELV data ,Get erase password.Then erase the ELV . Get your EIS data (with your password )into ELV .Final use your key to activate your ELV .
4.W209 and W211,W906 ,It can sync ELV after ELV been erased .Others ELV need to get EIS data with password first ,Then write into ELV .
5 .If you use your key to activate your ELV ,it can work ,Personalized marked ,activated not marked .You can use “activate ELV “function to make the Activated status marked
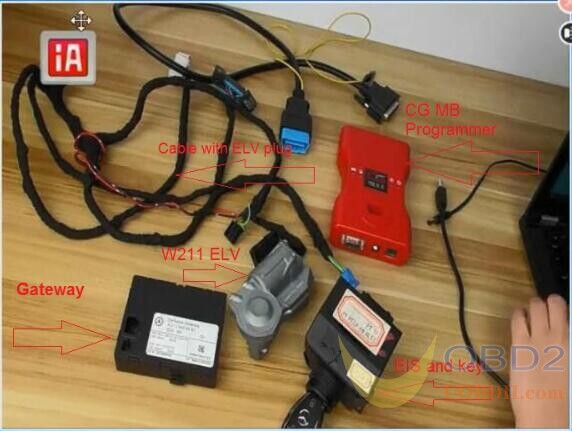
These are all we have to prepare:
CGDI MB programmer
W211 ELV (removed from the other car)
W211 EIS and key
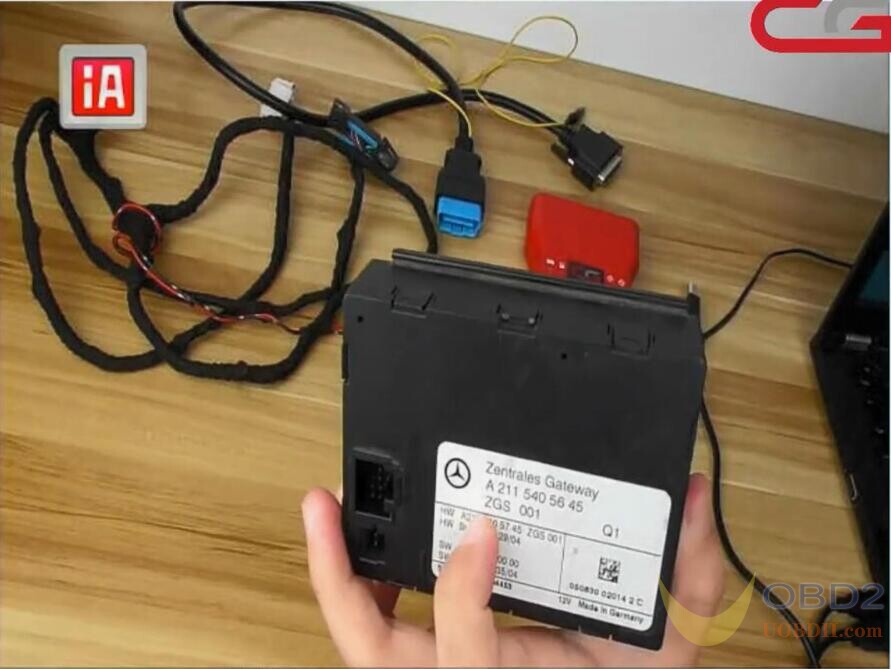
Gateway from the same car
OBD2 cable with k-line
The cable with ELV plug that is made by CG engineer
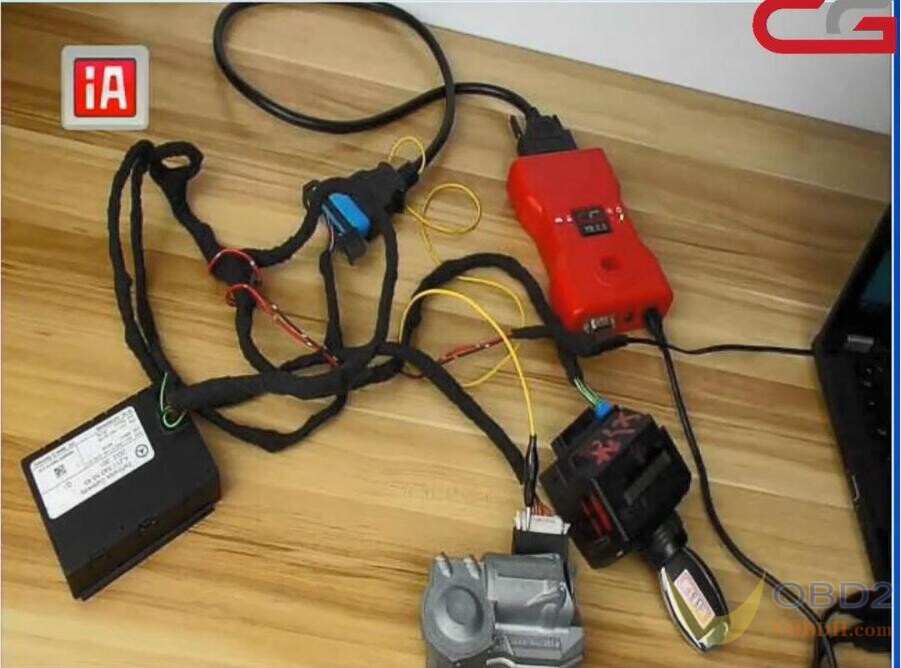
How to connect the cables and adapters?
The cable with ELV plug -> OBD cable -> CG MB
The ELV plug to gateway, the k-line is needed to connect ELV plug, just find the thinnest wire and connect it.
Alright, please follow the below image:
Next, how to operate in CG MB software?
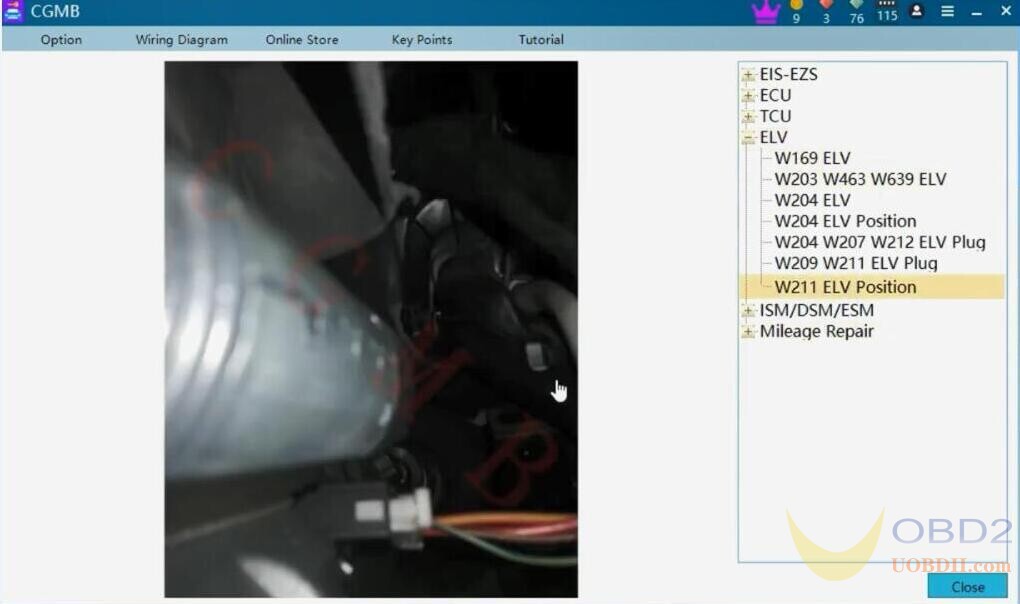
Open the software of CG MB, click on “Wiring Diagram” and found W211.
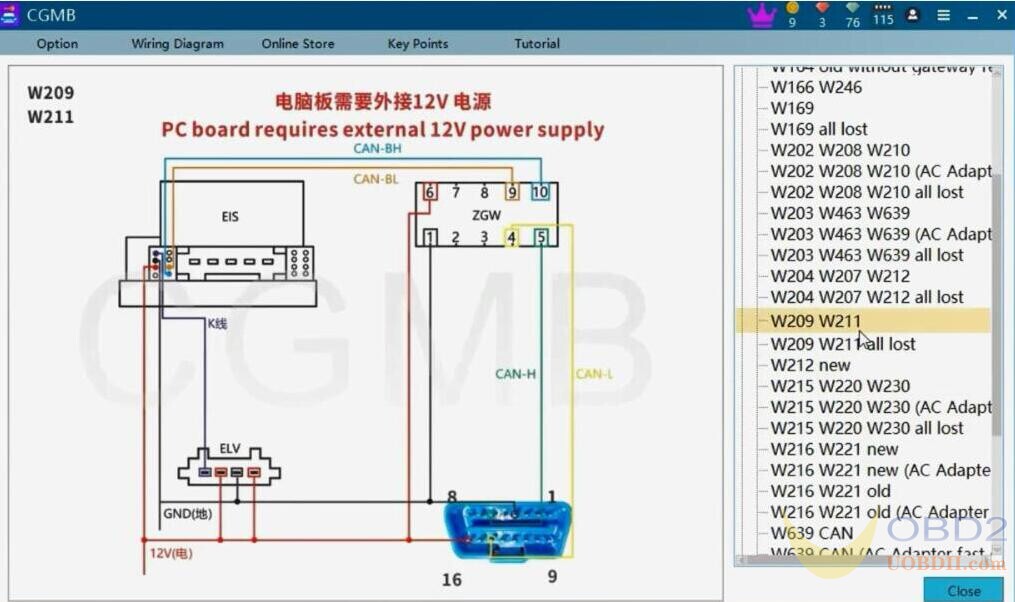
And W211 ELV Position.
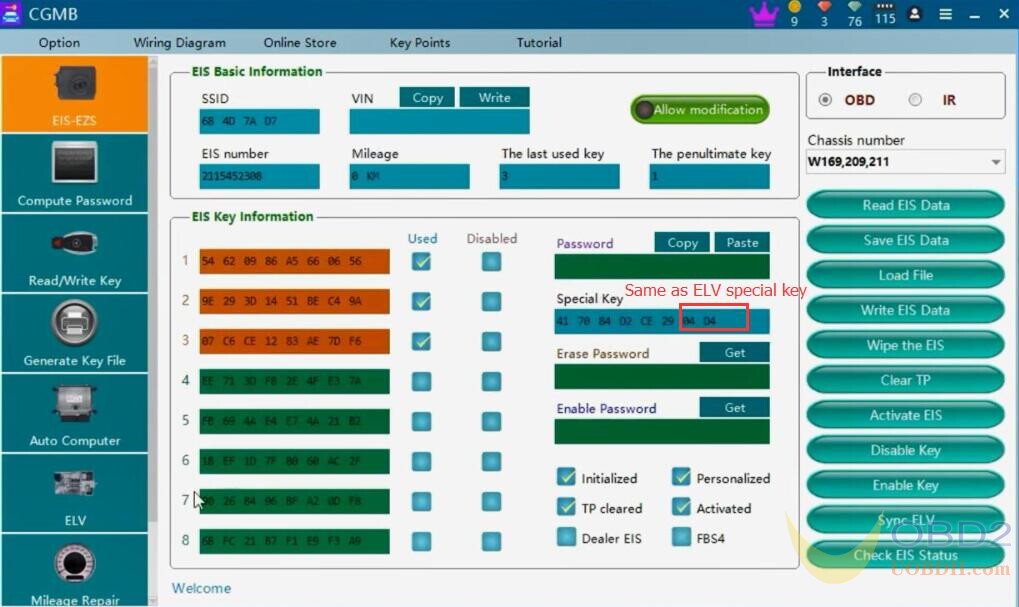
Okay, back to click on “Read EIS Data”, you can see the special key is 04 D4.

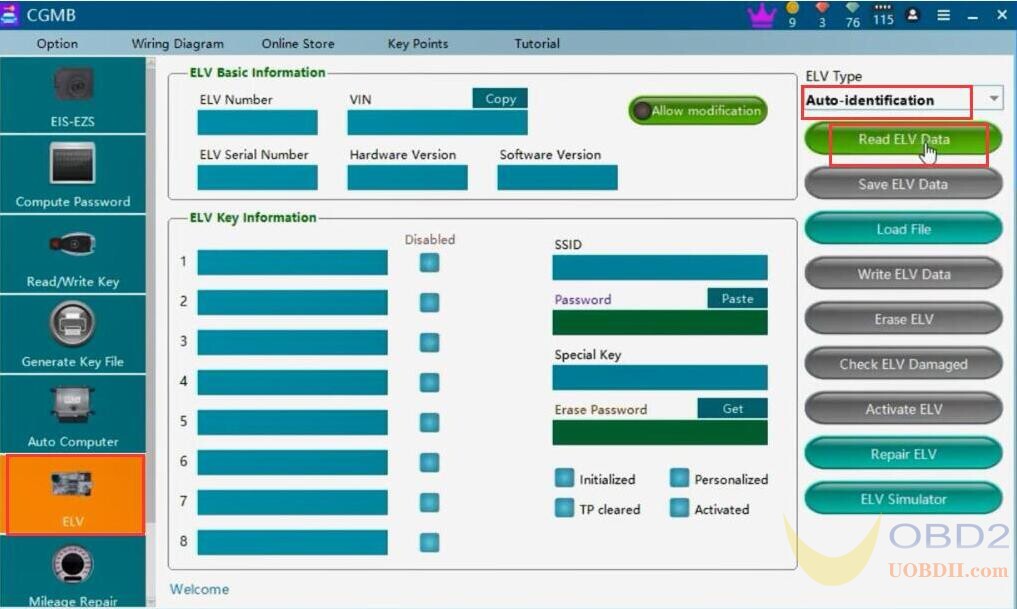
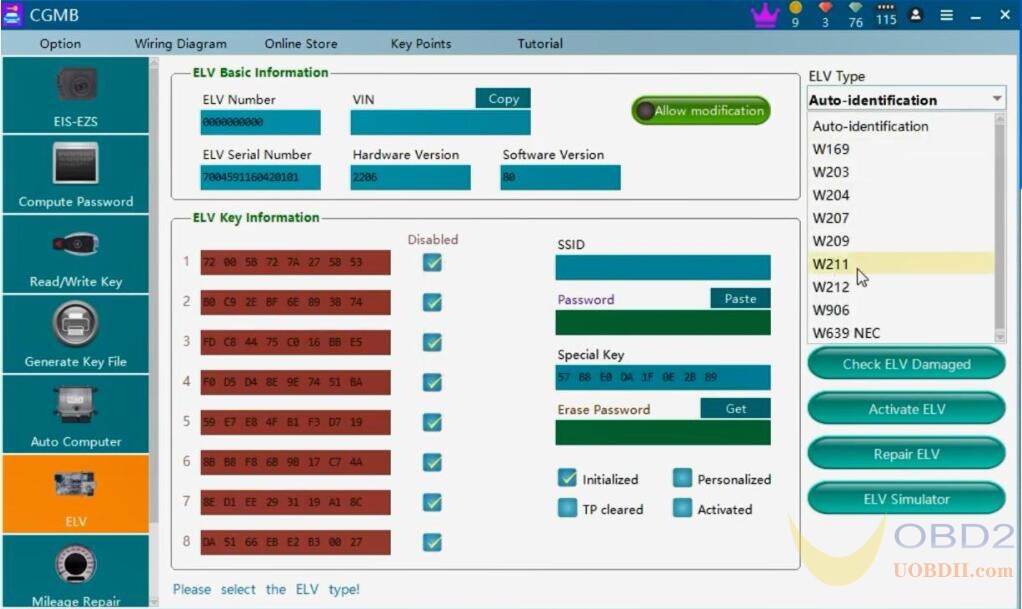
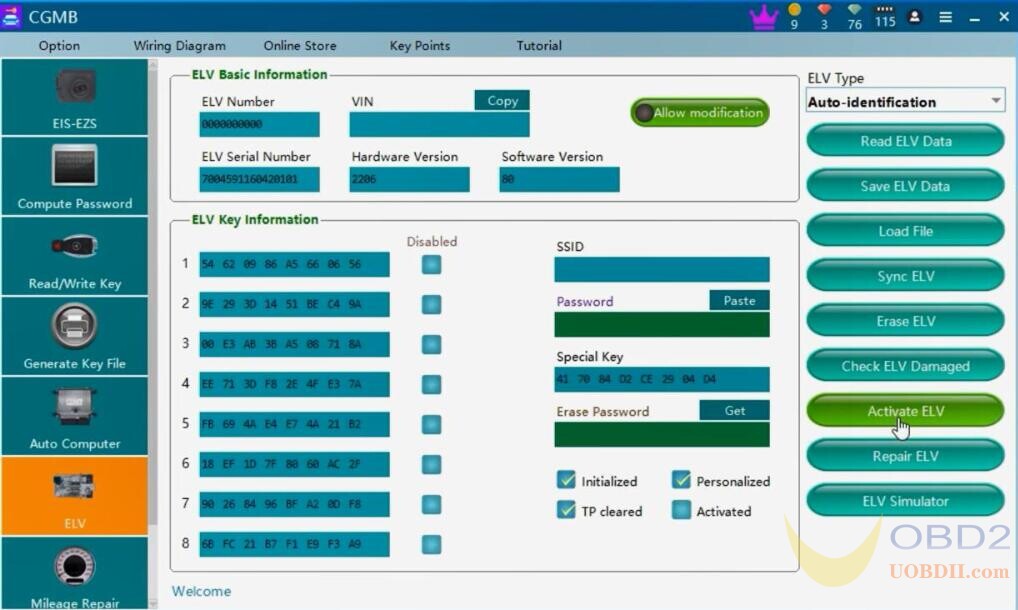
Then, click on “ELV”, then select “type: Auto-identification” and click on “Read ELV Data”.
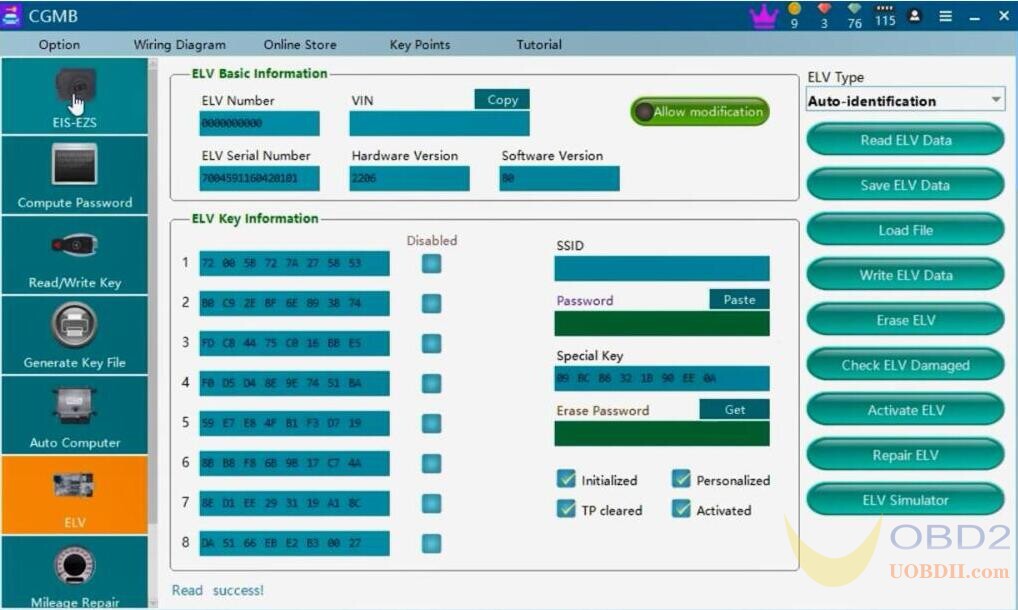
Read Successfully, the special key is EE 0A.
Then plug and unplug the key from the EIS, no response.
Then we need to erase the ELV first.
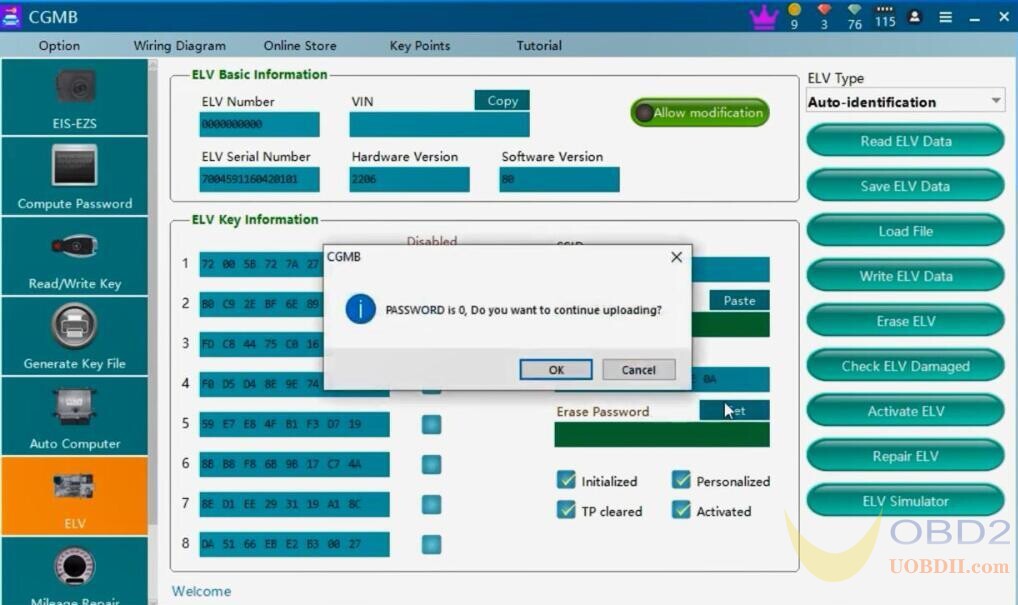
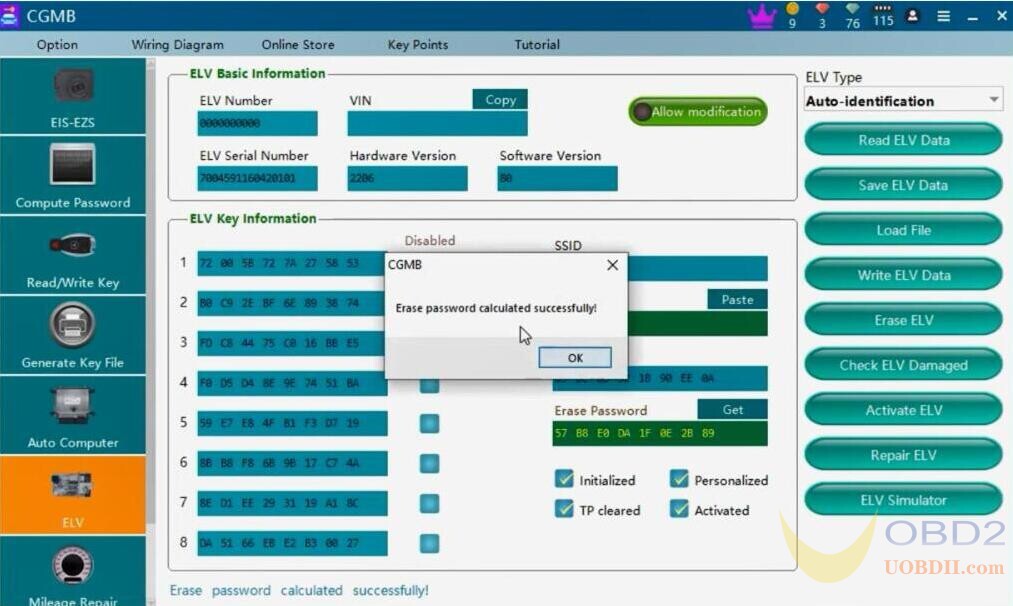
And we will get the erased password, just click “Get” and soon the erase password will be calculated successfully.
In the ELV page, we don’t need the password, just click on “Get” the erase password.
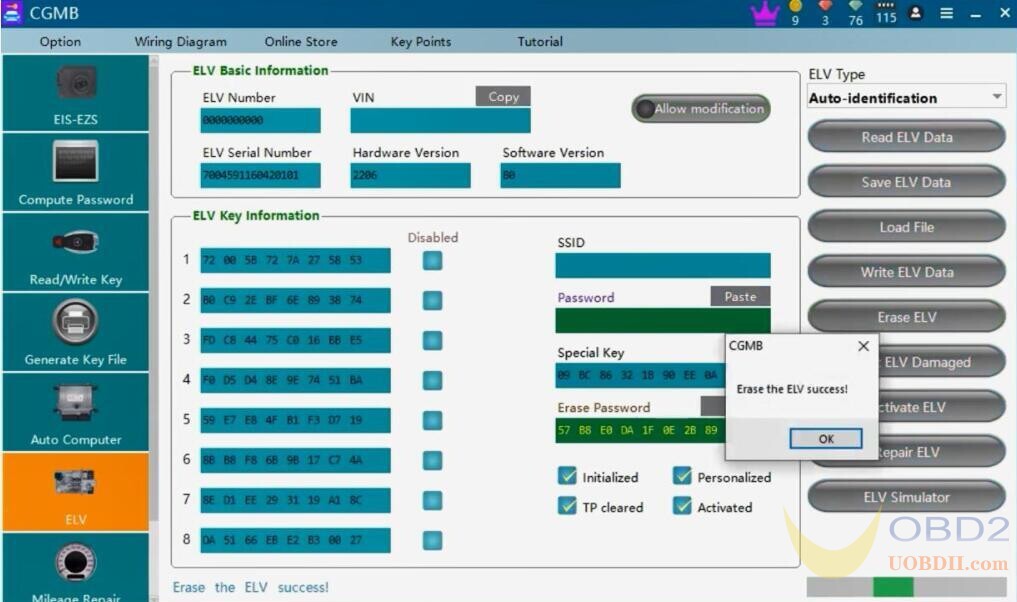
Then click on “Erase ELV”.
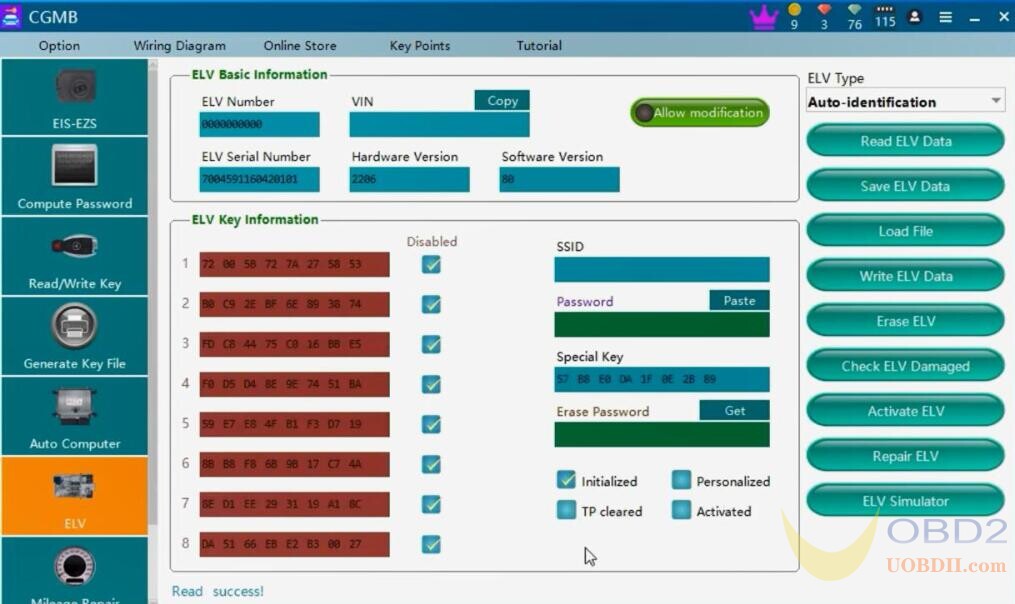
Then click on “Read ELV data” again.
You can see, the ELV data is changed.
Next is to “Write ELV data”.
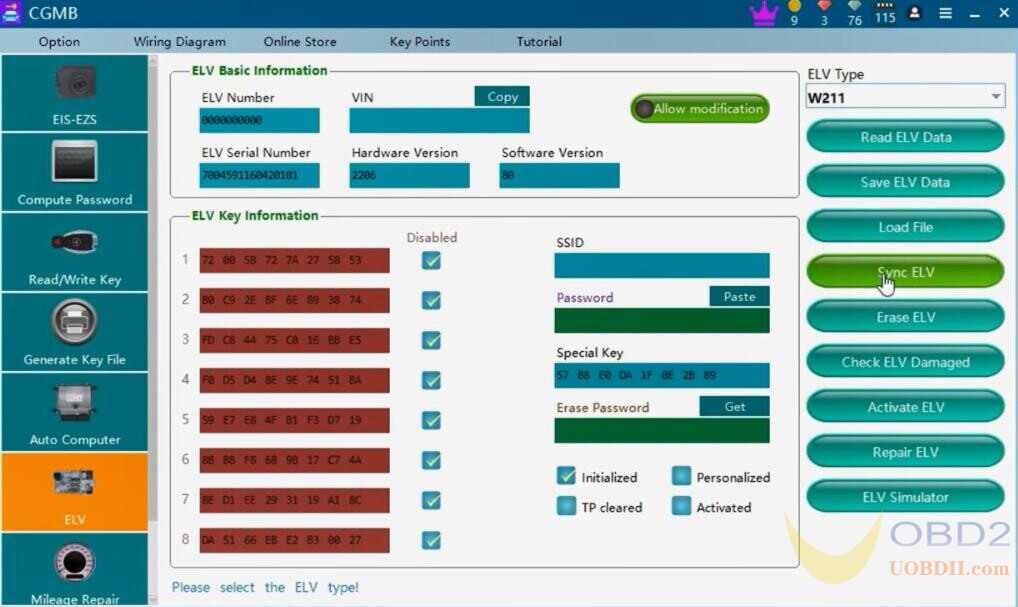
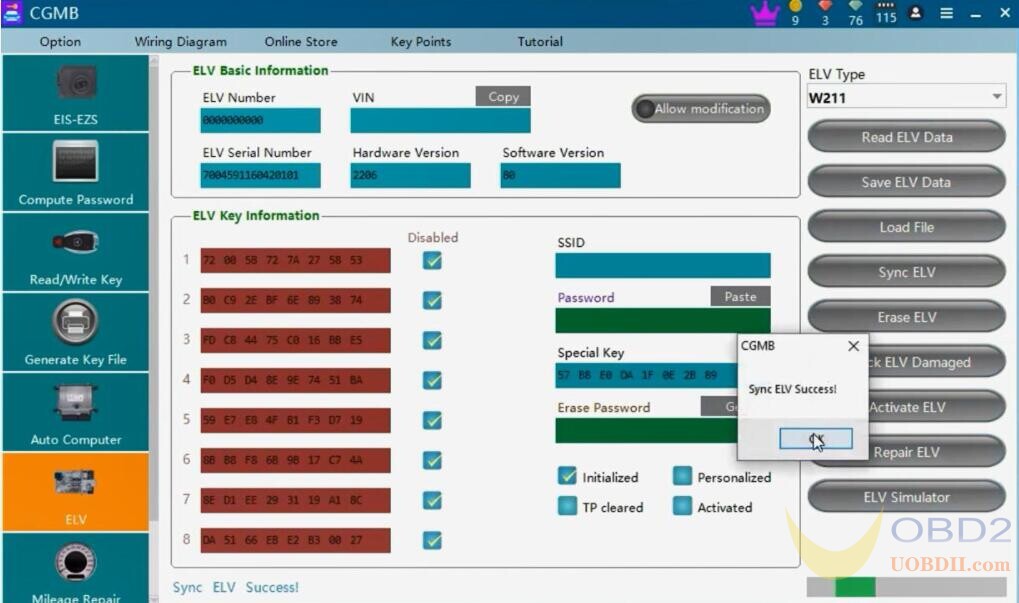
Please select the ELV type “W211” or W906, then it will show you “Sync ELV” option instead of “Write ELV data” option, just click on “Sync ELV” until succeed.
Then, click on “Read ELV data” again.
Alright, the ELV key information status is change.
The Personalized option is ticked off.

Okay, the ELV has response.
And the special key 04 D4 which is as the same the EIS special key.
Because the “Activated” option is not ticked off, the “Activate ELV” option is enabled, just click it and it will show succeed.
Click on “Read ELV data” again, you will see the “Activated” option is ticked off.
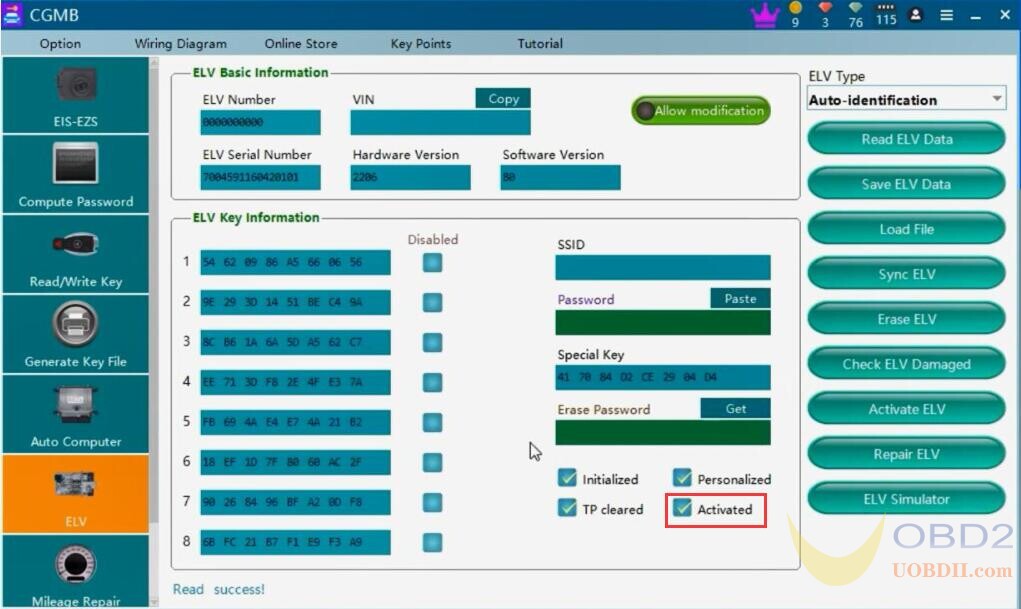
Alright, the W211 ELV is changed successfully, thanks to CGDI MB Programmer, thanks for your reading.
Video Guide:
