


CG100 Prog iii Repair Toyota Prius Steering Angle Sensor Tutorials:
Step by Steps:
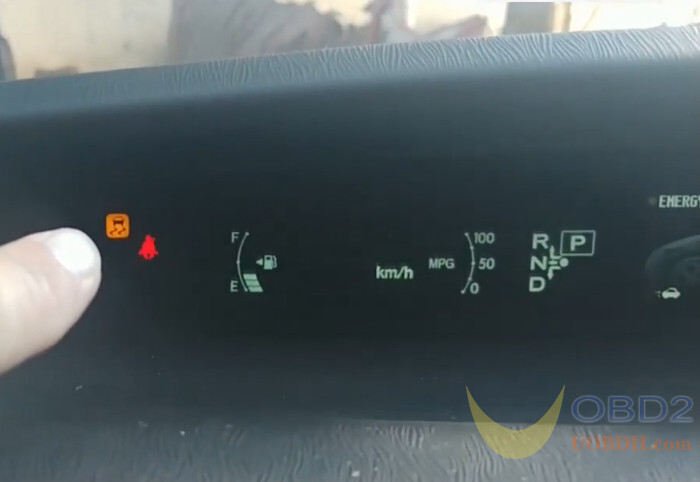
Turn the steering wheel, and get the data stream on Launch X431 V diagnostic tool.

Connect all devices as below
- Plug EE_ Adapter_V2.0 to EEPROM_ V1.1 adapter, and connect to ATMEGA adapter, then connect to CG100 Prog
- Connect CG100 and the computer via USB cable

Run CG100 software
Select BCM>> Brand: TOYOTA>> Module: Steering>> Model: General model>> 89245- 74010 93C66>> Click “Next”

Read the related instruction as below:
- After completely repaired, align the tire firstly, then install the steering angle sensor (Don’t turn the steering wheel and sensor while power is on)
- Open the electric door, and use the decoder to clear the DTC
- Enter the ABS system to read the data
- Continuous debugging until the data displayed as +-3 degrees
- After adjusted, install the gossamer, steering wheel and airbag. Using the decoder as the learning settings.
Click “Start”

It starts reading chip info and EEPROM data. When the operation is completed, save the file.

Then repair the data
When it’s successfully repaired, save the file.


After that, follow the instruction above to do.
Turn the steering wheel again, the value turns to 3 and then 6 degree.


Alright! It’s easy to do Steering Angle Sensor repairing by CG100 PROG III full version.
