Hi guys, this article shares the test reports on working DBR III emulator for Chrysler Crossfire 2005 including TPMS Relearn 2007 Roadster and ABS bleeding, then how to get the DRBIII Emulator software setup for Micropod 2.
Car model and year: Chrysler Crossfire 2005 European with RDB III definitely
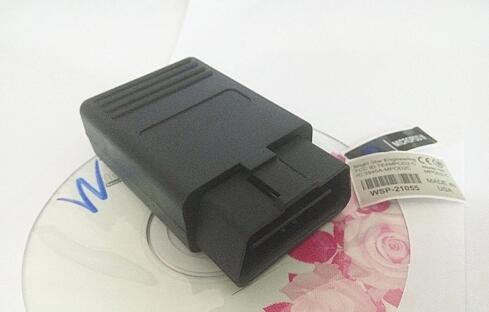
Working emulator for Crossfire:
Bought Micropod 2 Clone which works with the Enhanced DRB 3 Emulator. Cost is about $170 (Chinese dealer said only windows XP or Windows 7 (32 bit) would work, my laptop came with a Solid State Drive with Windows 7 Professional (64 bit) installed. Turns out my laptop with Windows 7 Professional (64 bit) works just fine.).
Used this product on 2005 srt6 coupe and 2007 ltd roadster (us versions). It takes some work to get the software set up. But once you do, it works fine.
I have only used the emulator to perform a TPMS Relearn (2005 SRT6) and diagnose a defective air bag control module (2007 Roadster). I have tested some other diagnostic functions, but I am not very familiar with its additional capabilities. I think it will perform many other DRB III functions.
Attached is a DRB III manual:
Actually, many users have successfully used the DRB III emulator with Micropod II.
Question 1: does that work and does it include the ABS bleed?
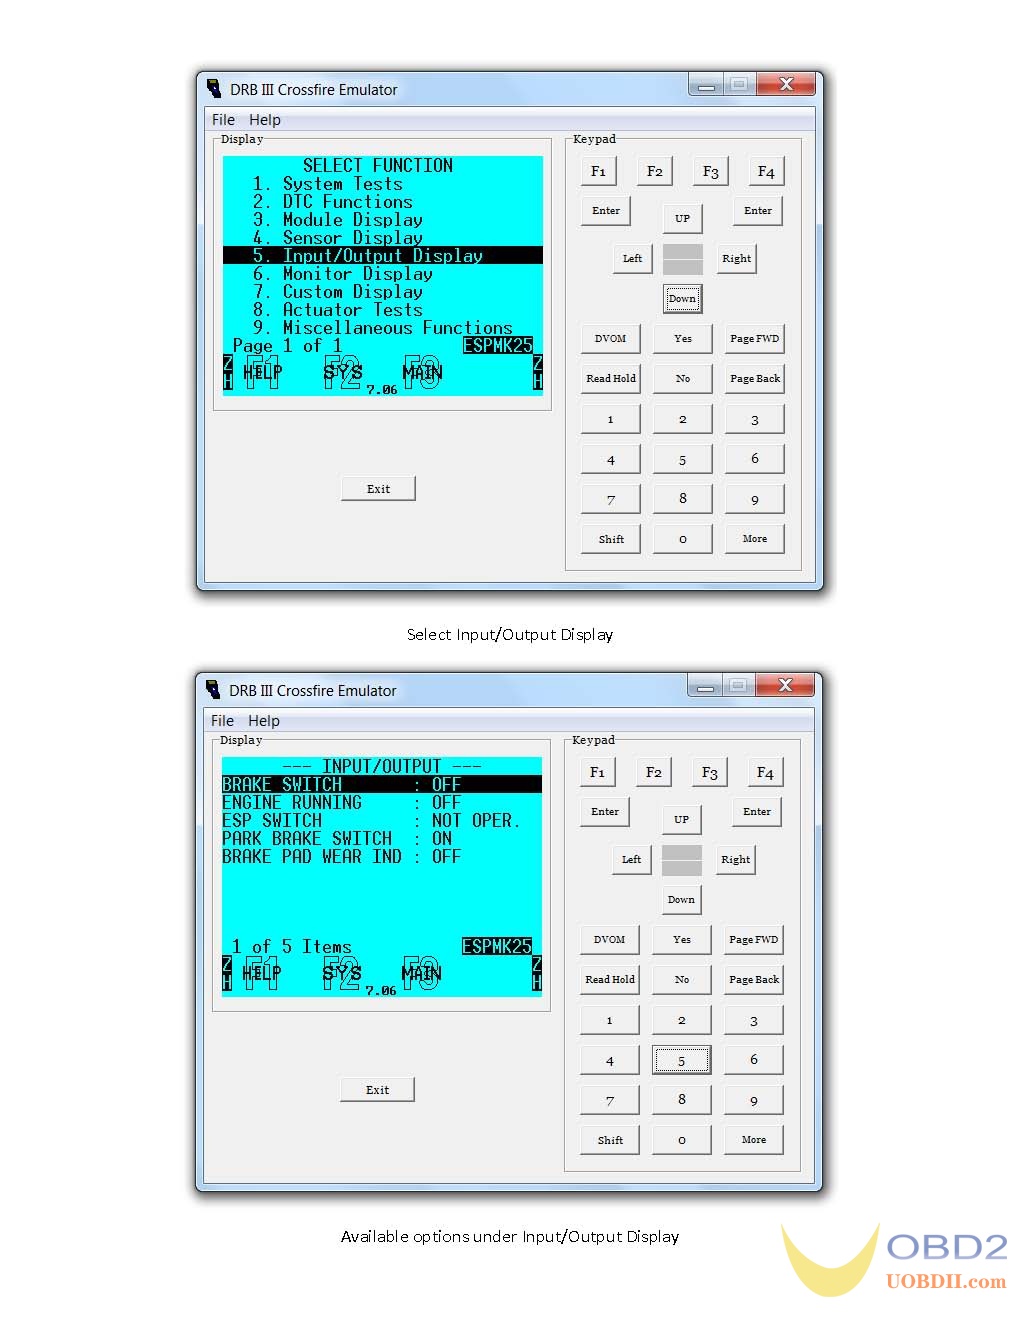
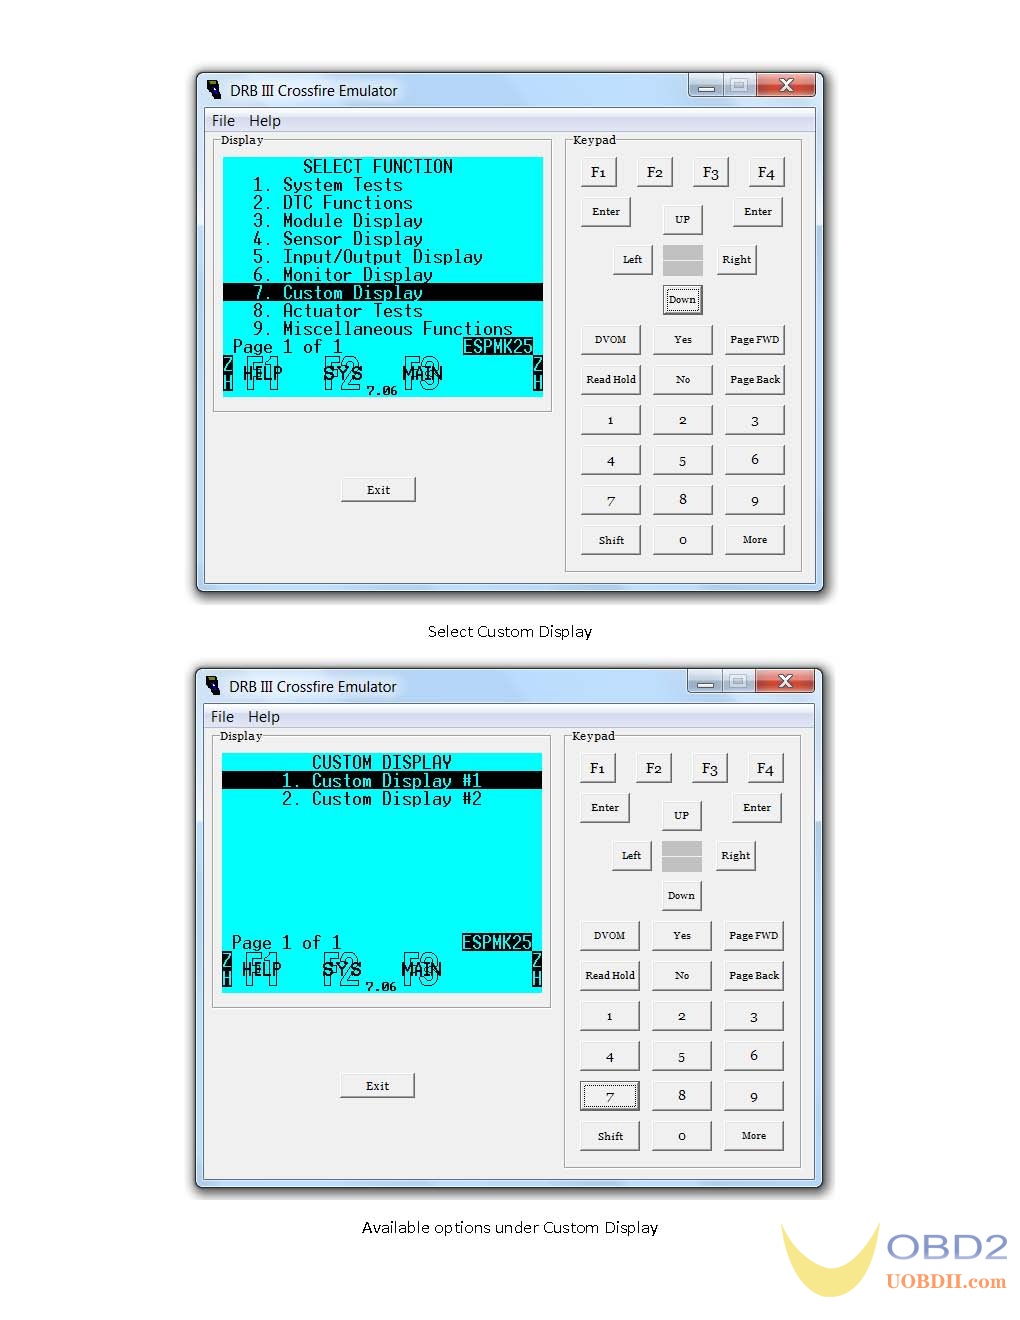
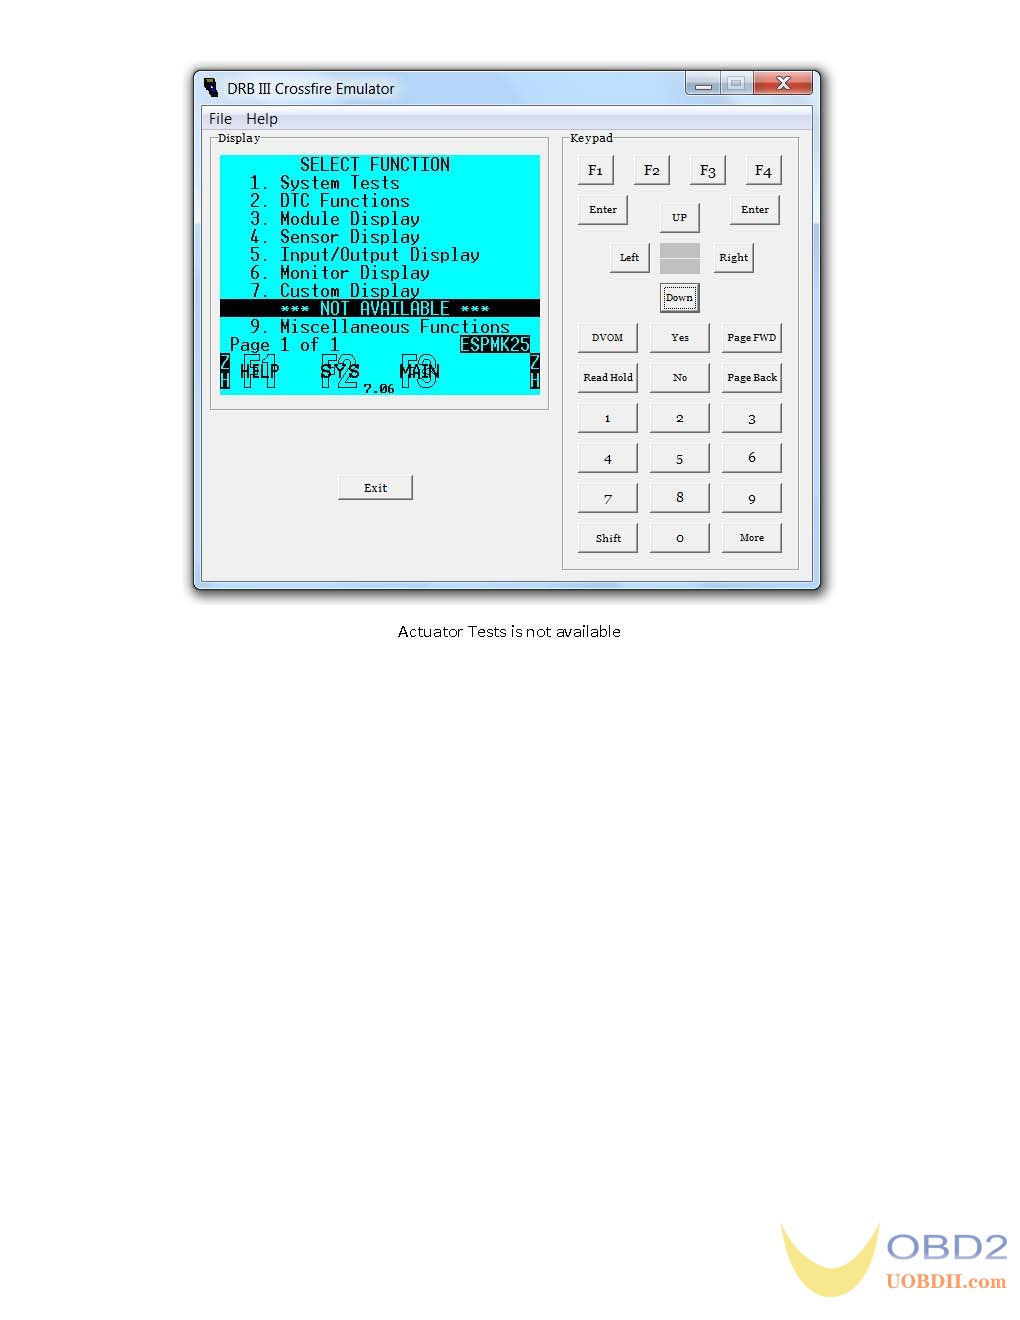
Answer : Page 90 references the ABS (Section 11) in the DRB III Manual, page 11.2. I ran the emulator on my 2005 SRT6 Coupe today and tested the ABS function. Attached is a printout of all the ABS functions and the options for testing and diagnostics under each of those functions. Unfortunately, I did not find any option to bleed the brakes. Page 90 of the manual indicates Brake Bleeding is located in the ABS Section under Miscellaneous Functions. However, when running the emulator in Crossfire mode only the following options are listed under Miscellaneous Functions: 1) Erase Zero PT-Offset Error, 2) Relearn Steering Angle.
Images: ABS bleeding with DRB lll Enhanced Emulator and Micropod ll


Question 2:
What exactly do I need to purchase to have the Enhanced DRB 3 Emulator up & running? Need to get the 2 new TPMS wheels sensors (installed on Driver-Side) communicating with TPMS Module & turn of the TPMS warning light.
Answer:
You will need this:
1) Good computer knowledge
2) A laptop with a clean Windows XP or Windows 7 installation on it. Nothing else. Networking and Updating turned off.
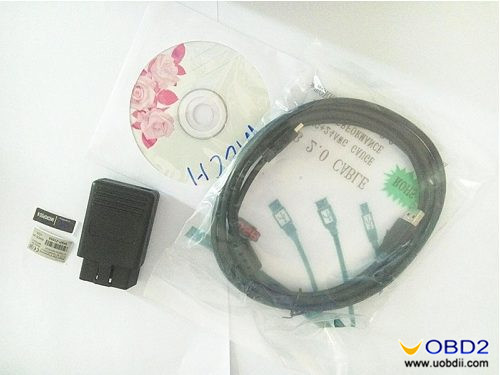
3) A MicroPod 2 wiTech 17.04.27 for Chrysler Diagnostics and Programming
(A CD with most of the software you need, along with the MicroPod 2 and USB cable comes with, here wiTech v17.03.10 free download mega)
I initially made the mistake of purchasing the emulator software separately for about $250, because I thought that was necessary. Fortunately I never opened the package and was able to get a refund. It is not necessary to purchase any admegaditional software.
Looks like the Micropod II, with all the software and cable, is now on sale for $139. I paid about $170.
4) Follow the last paragraph instructions on: Windows 7 Pro 32bit install DRBIII Emulator for Micropod 2
5) A TPMS tool to “chirp” the sensors so the vehicle can read them (I use the Autel TS601)
6) Perform a TPMS Relearn sequence using DRB III Emulator. Chirp each wheel when requested by the emulator. (Takes about 5 minutes)
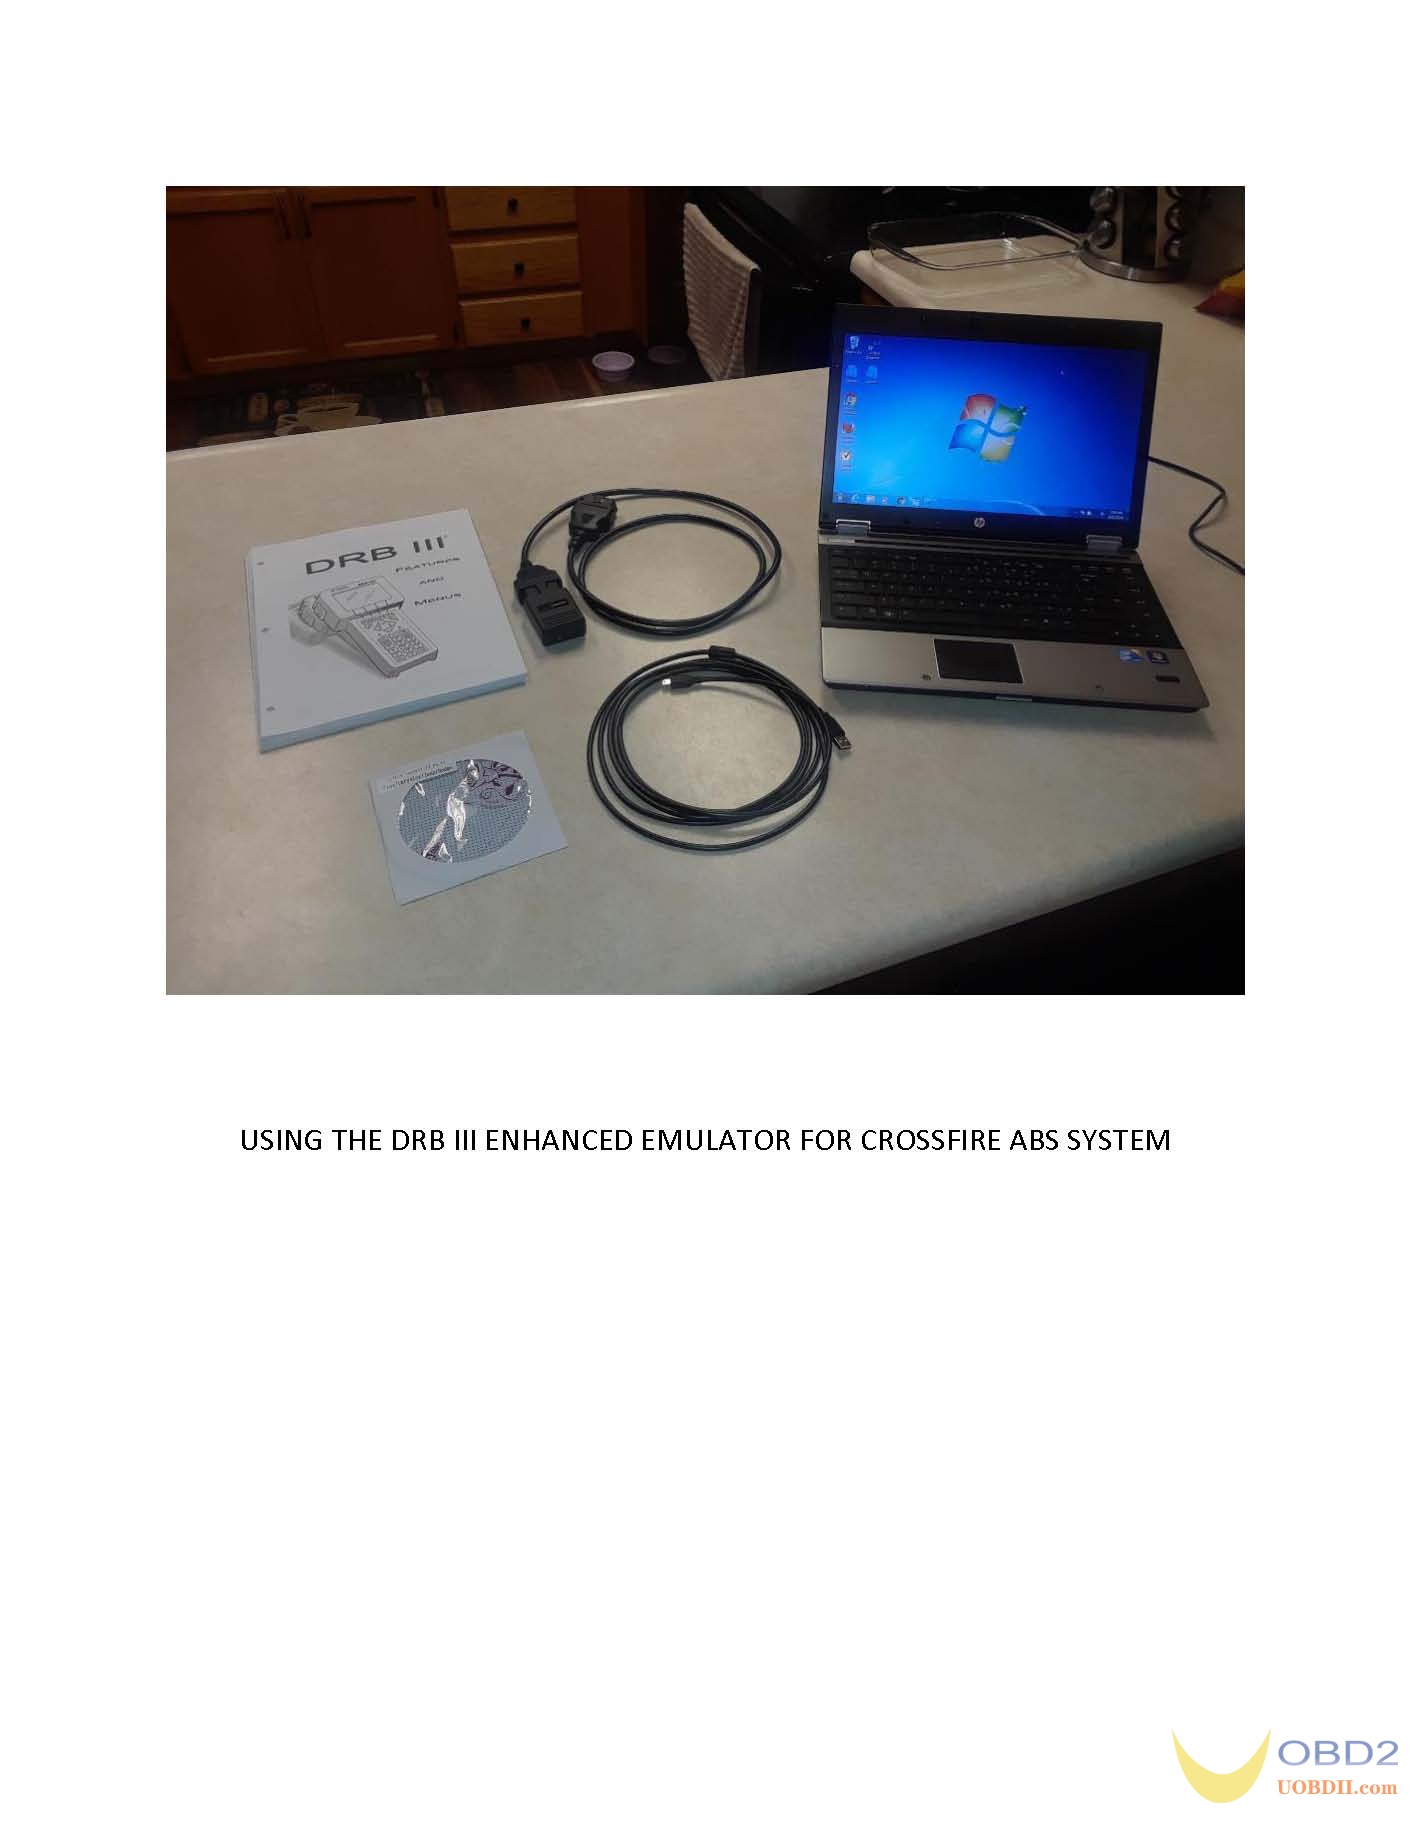
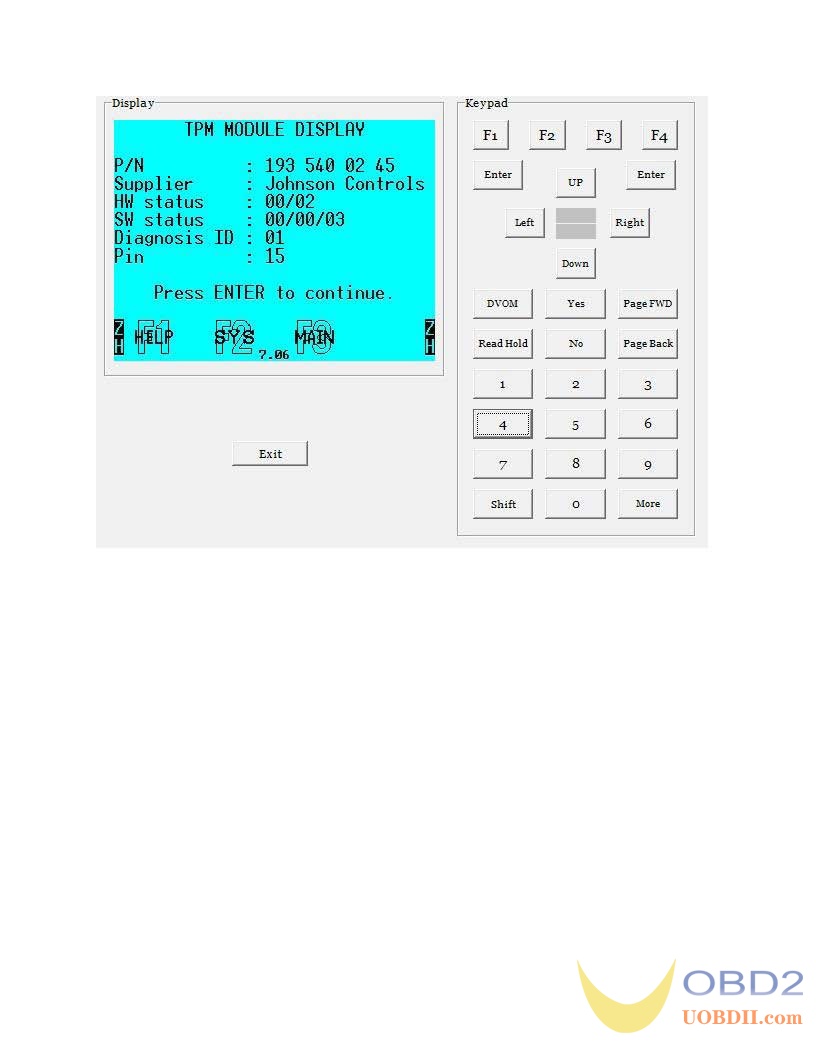
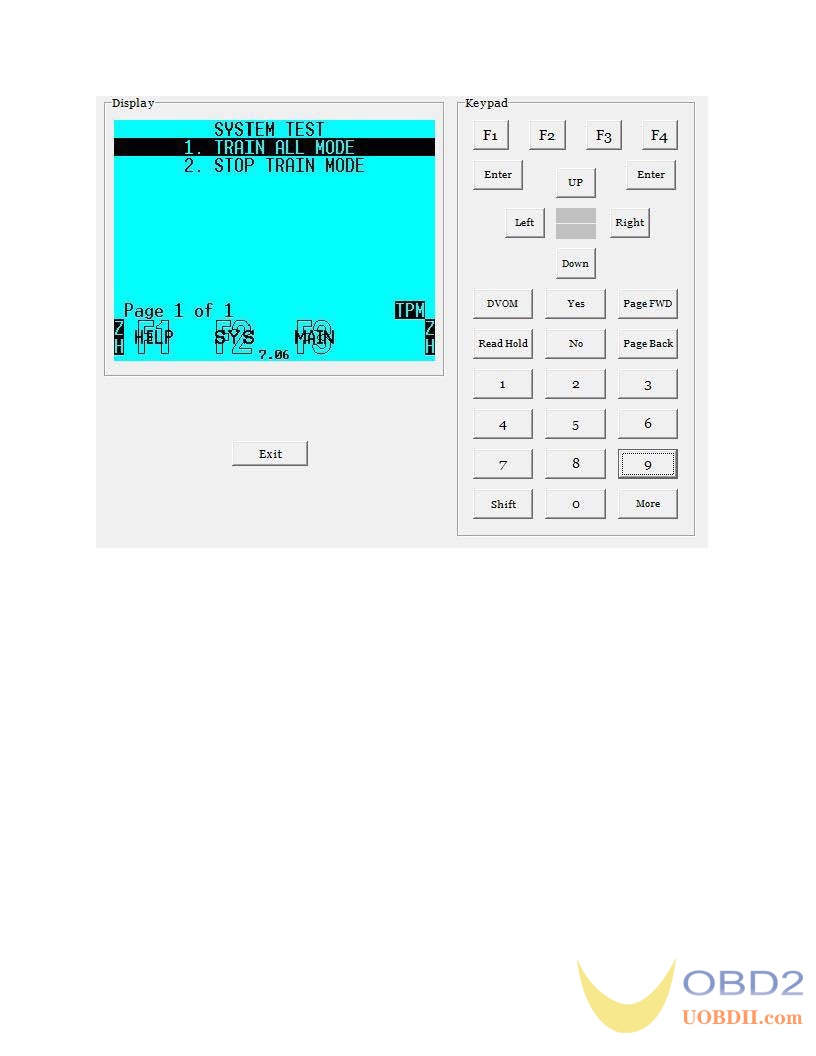
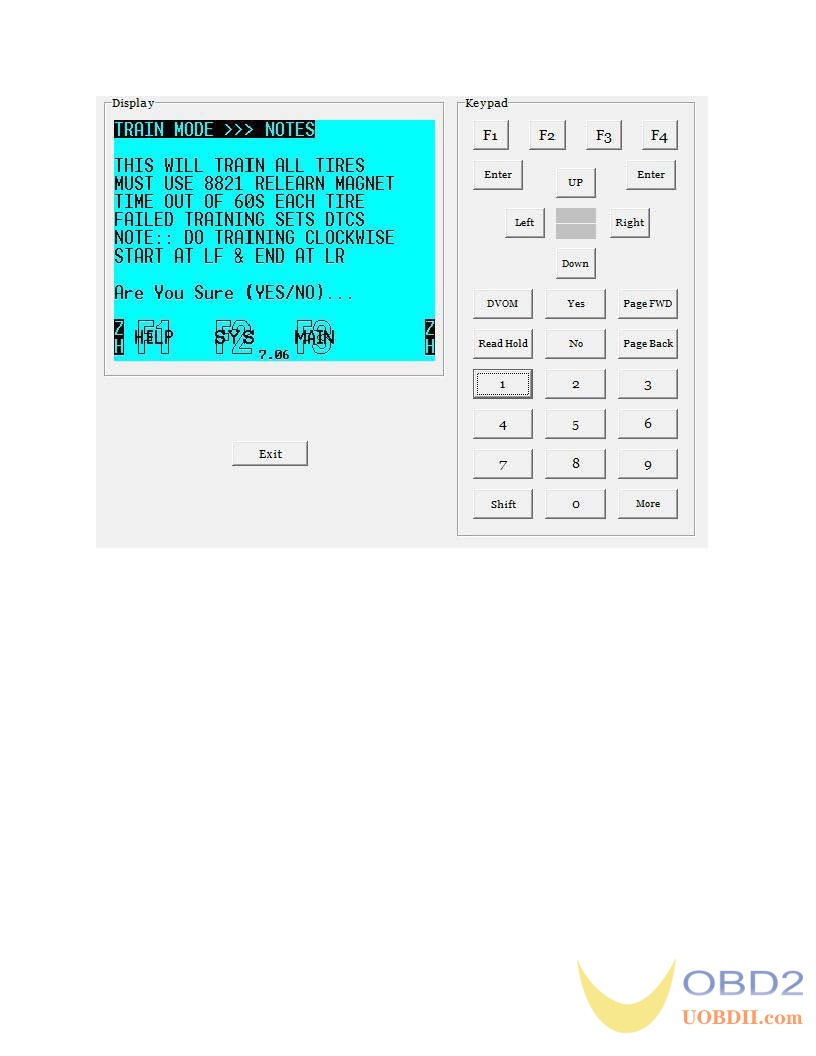
***I have run the sequence to perform a TPMS relearn using the DRB lll Enhanced Emulator and Micropod ll. The attached file shows the sequence I followed along with a snapshot of each displayed screen from the Laptop.
Images: TPMS Relearn 2007 Roadster with DRB lll Enhanced Emulator and Micropod ll


I stopped at this point, because I am not performing a relearn at this time. Please note: magnets are not required when performing activation of the wheel sensor using a TPMS tool.
Someone tested and reported: In fact, I did not need to buy the “TPMS tool” to trigger the sensors. I went back to Discount Tire, who installed the new Dill sensors and they were happy to do it for me while ran the DRB III emulator to trigger the learning sequence. I happily drove home with no TPMS light – first time since I bought it from the original owner earlier this year!
I followed this instruction to install DRBIII Emulator for Micropod 2 on Windows 7 Pro 32bit and it worked perfectly:
1: Start with a fresh install of Windows 7 Pro 32-bit.
2: Install all the necessary drivers for your laptop.
3: Set the clock to the current date and time. (It didn’t work when set to 01/01/2017)
4: Connect to WiFi and performed all necessary Windows Updates.
5: Copy the “wiTECH_Install_17.03.01” folder to the desktop.
6: Install the provided version Adobe AIR.
7: Install the provided version of Java.
8: Install wiTECH 17.03.01.
9: After you have finished installed everything, when you get popup messages from Windows Firewall to allow or block any applications, click “Allow”.
10: When you get a popup for AdobeAIR and Java to update, click cancel and do NOT update either AdobeAIR or Java.
11: Open “My Computer” and in the upper left of the window, click on “Organize” and then select “Folder and search options”.
12: Click on the “View” tab and under “Hidden files and folders” select the radio button for “Show hidden files, folders and drives”. Also, uncheck the option for “Hide protected operating system files (Recommended)” and then at the top of the window, click the “Apply to Folders” button.
13: Navigate to “C:\ProgramData\wiTECH\jserver\data\core\stubs” and you will find three installers.
14: Install the DRBIII Emulator stub.
15: Wait for a popup to appear that states the security certificate isn’t valid and click “OK” to allow the software update to proceed. Another popup will appear and the software update will run. After it completes, close the wiTECH window if it opens.
16: Install the Enhanced DRBIII emulator stub.
17: Again, wait for a popup to appear that states the security certificate isn’t valid and click “OK” to allow the software update to proceed. Another popup will appear and the software update will run. After it completes, close the wiTECH window if it opens.
18: Install the K-Line stub.
19: Again, wait for a popup to appear that states the security certificate isn’t valid and click “OK” to allow the software update to proceed. Another popup will appear and the software update will run. After it completes, close the wiTECH window if it opens.
20: Connect the MicroPod2 to the vehicle, then connect it to the computer.
21: A popup window will appear to install software. Click “OK”.
22: After it finishes, start wiTECH 17.03.01 and wait for the screen to show up with the MicroPod2 and IP address of it. You will see a “Launch DRBIII” button in the lower right corner. Ignore it as they do not properly open the emulator.
23: Create a shortcut on the desktop and enter the following into the “Path” field.
http://localhost:9876/launchExternalApp?appName=drb_iii_enhanced_emulator&locale=eng_ENG&deviceIp=172.22.22.22
24: Disable the LAN and WLAN network connections and never connect to the internet again.
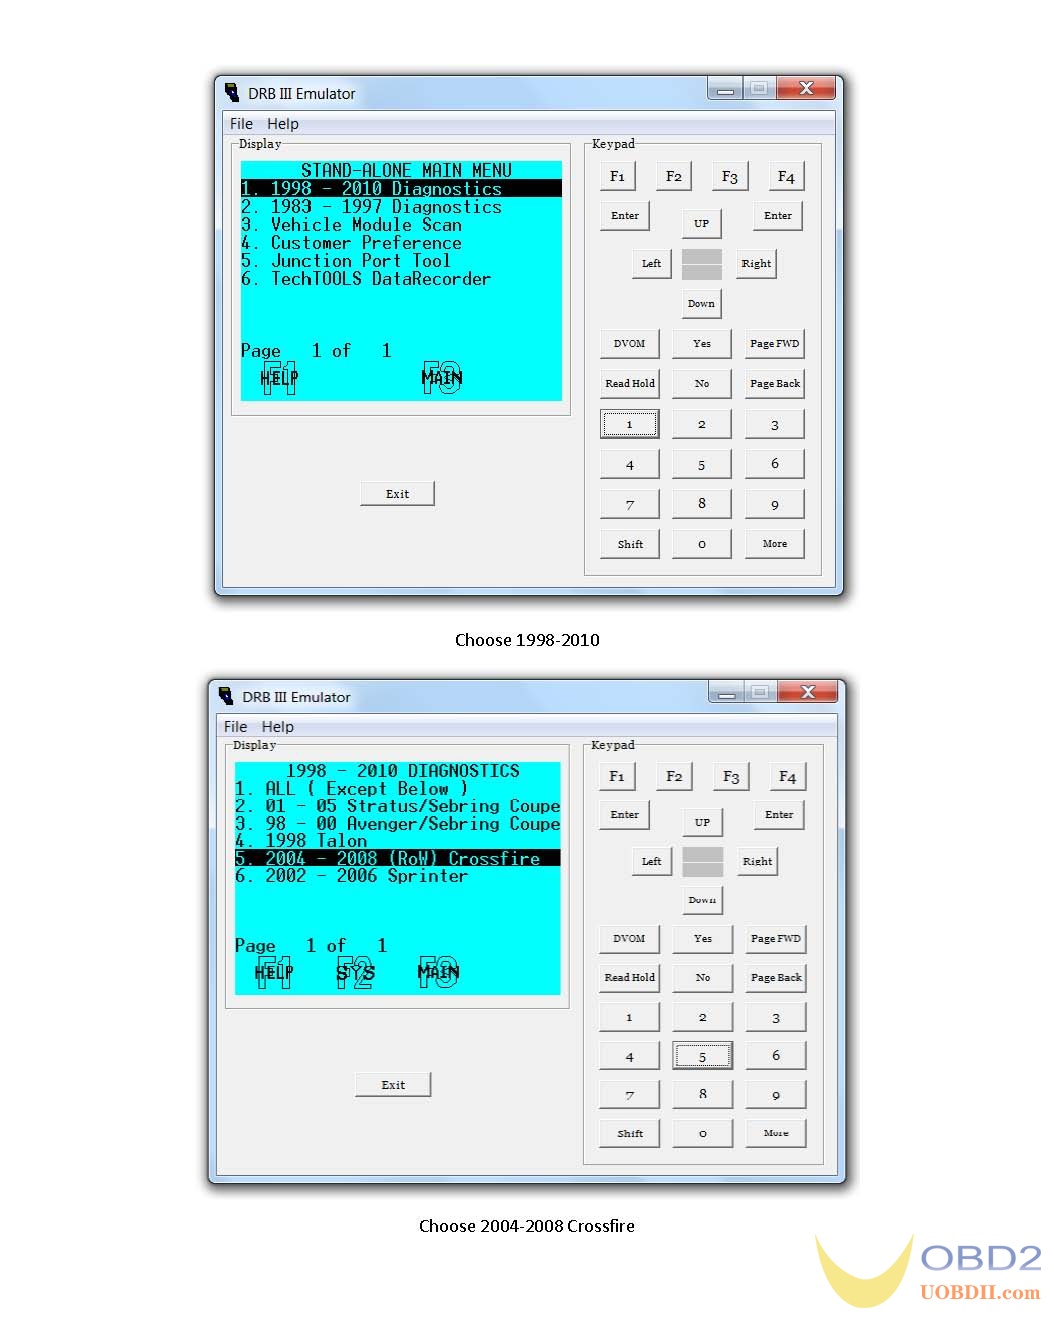
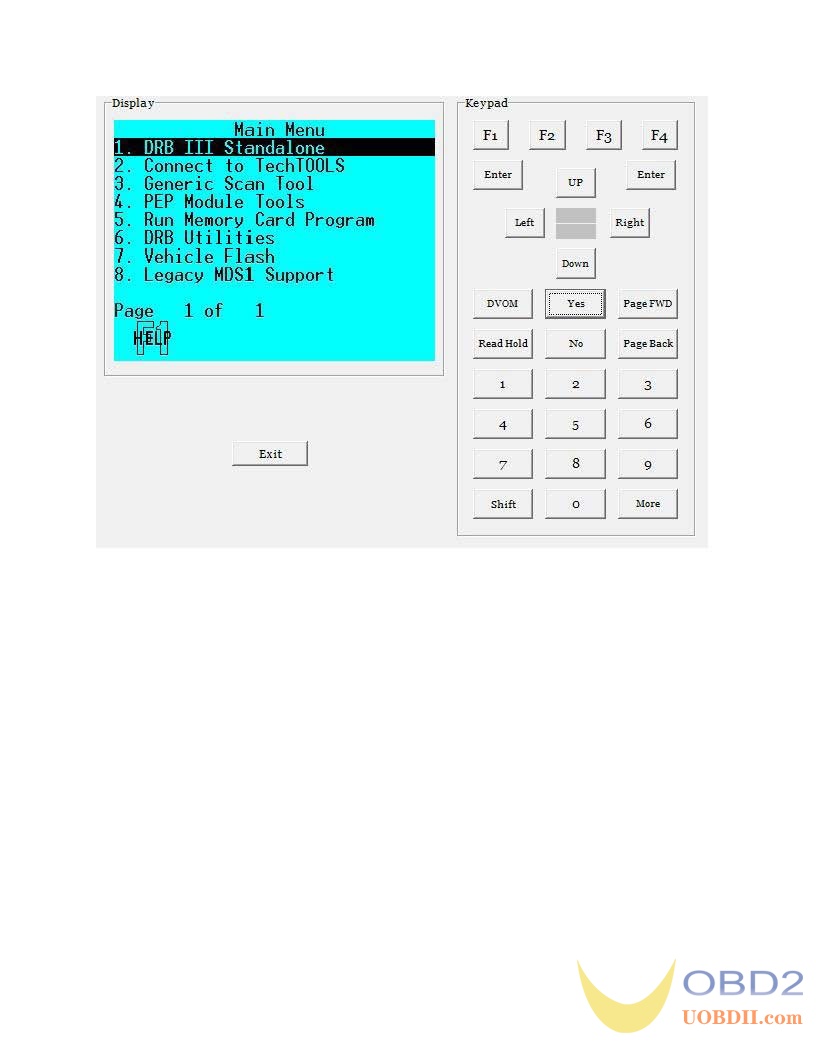
25: Click on the shortcut and you’re set! The DRBIII emulator will open and give you the choice to select several different vehicles.
Enjoy!
MicroPod 2 wiTech 17.04.27 for Chrysler Diagnostics and Programming 139usd only
https://www.uobdii.com/wholesale/witech-micropod-2-diagnostic-tool-for-chrysler.html