


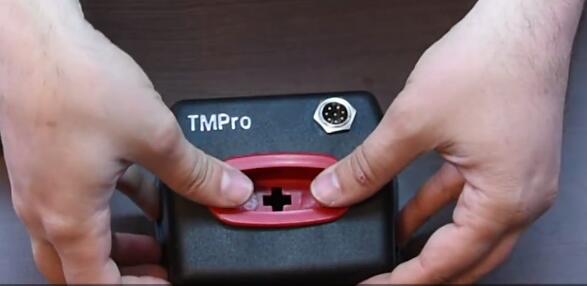
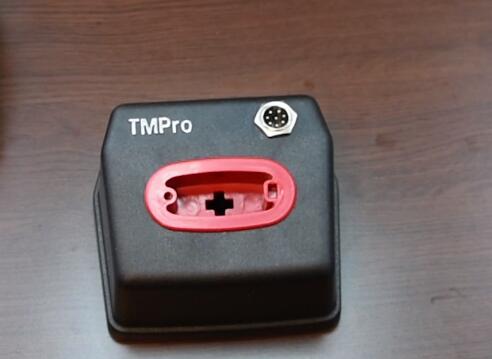
This is a instruction on how to upgrade your TMPro with the new and improved TMPro 2 insterface.
Preparations:
Soldering tool
Screwdrivers
TMPro upgrade kit

Steps:
First remove the 2 body holder screws.You can locate them on the back of the TMPro

Remove the connector port.No tools needed just use your hand and remove the port as shown

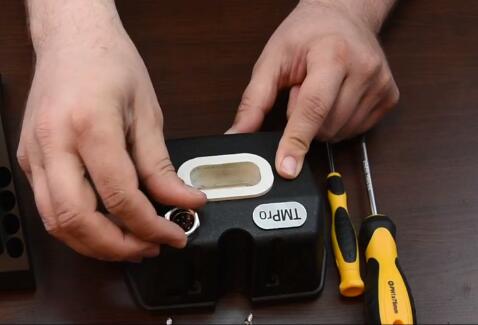

Remove the bottom cover.Do not use too much force.Be carefull not to damage the wire connector inside.

Be carefull not to damage the wire.Do not use tool much force while dissasembling.

Use the soldering iron to desolder the wire connector
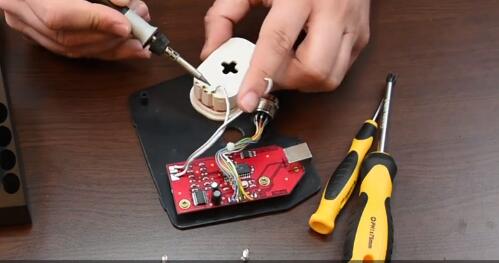
Separate the PCB from the loard.Remove the screws using a screwdriver


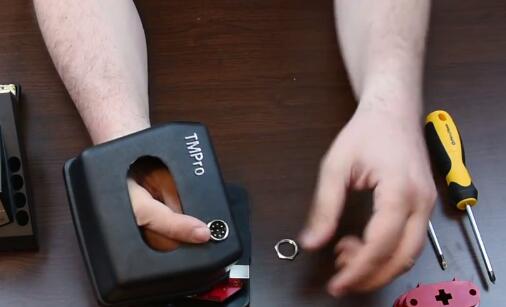
Disassemble your new TMPro interface into 3 components.

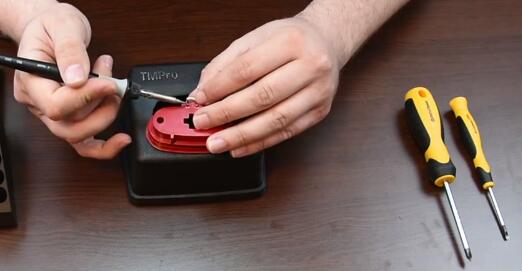
Attach the PCB to the board using a screwdriver

Place the connector into its socket and fix it with the nut

Place the bottom cover and use a screwdriver to fix it in position

Now,use soldering iron to solder the coil with the wire connector
Position the coil into the socket and press down with your hand until it is fixed into place.

Now you can use your TMPro with the new and improved interface.
More TMPro 2 programmer,check here:
http://www.uobdii.com/wholesale/tmpro-2-original-transponder-key-programmer.html
