


key using Keydiy KD-X4 programmer to align with the vehicle’s original system. The solution requires extracting data from the original key and transferring its unique ID to the new Keydiy remote.
Step 1: Extract Information from the Original Key
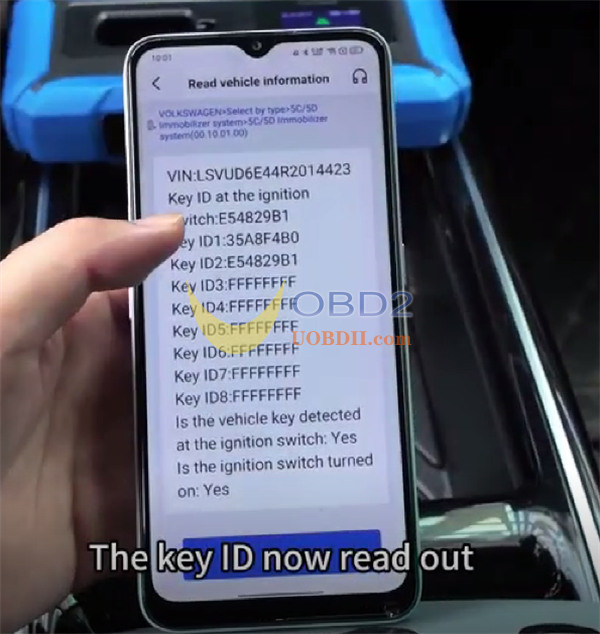
Start by taking apart the original factory key to access its data and generate a service code. The Keydiy interface will present two Key IDs. Position the original key on KD-X4‘s induction coil to determine which of the two IDs corresponds to the factory key.
Step 2: Set Up the Keydiy Remote
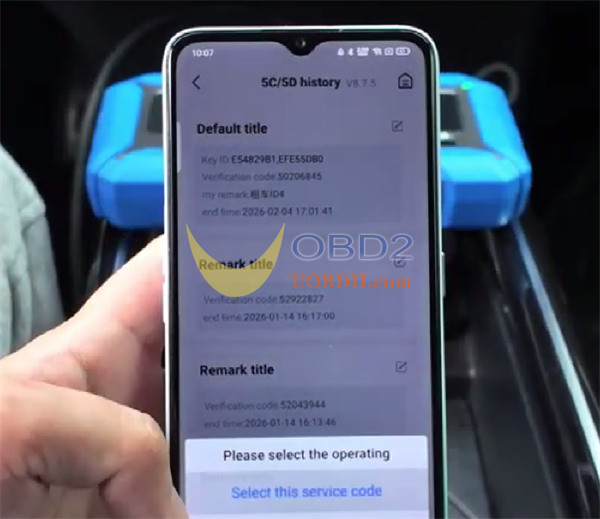
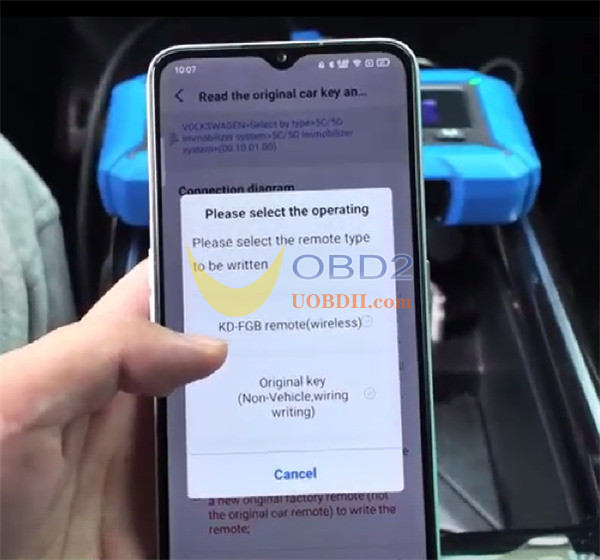
Note that ID modification is exclusive to Keydiy remotes. On the programmer, go to the menu, pick the relevant Service Code, and opt for the FGB remote to create a dealer key.
Step 3: Adjust the Key ID on the New Remote
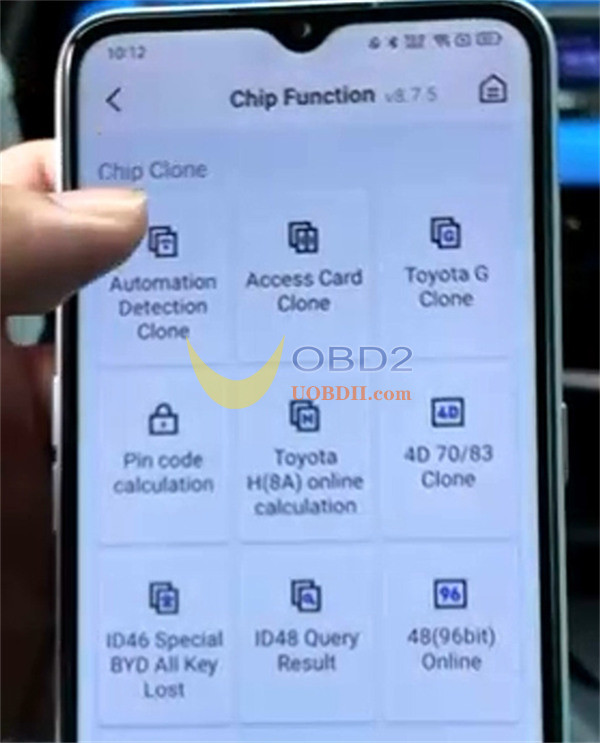
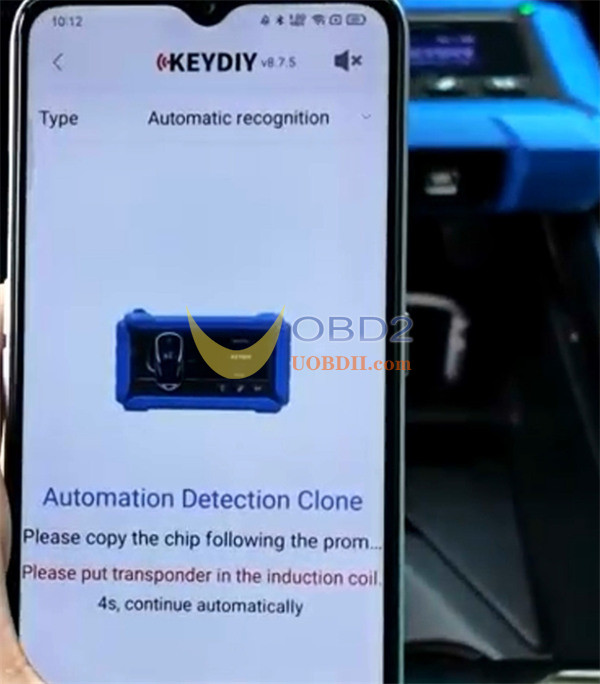
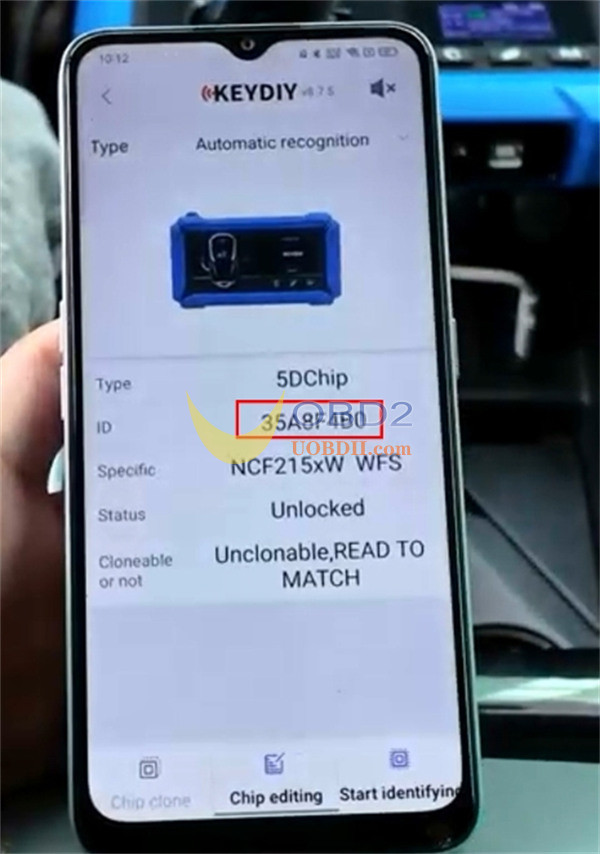
Proceed to the Chip function and pick Automation detection clone. Place the Keydiy FGB remote on Keydiy KD-X4‘s induction coil.
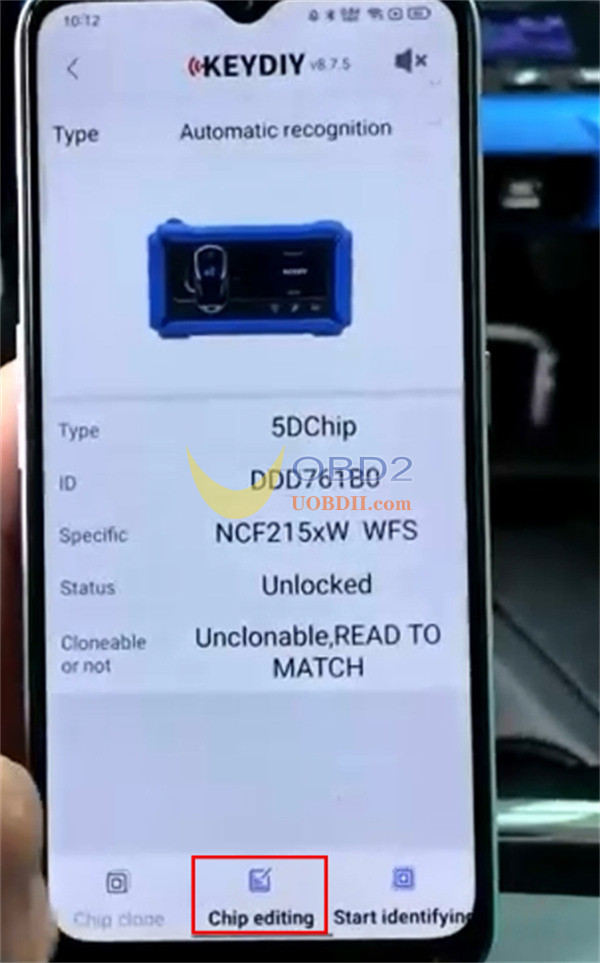
Press Start identifying to let the device recognize the chip type and its existing ID.
Choose Chip editing.
Edit the ID shown on screen to match the original key ID obtained in Step 1.
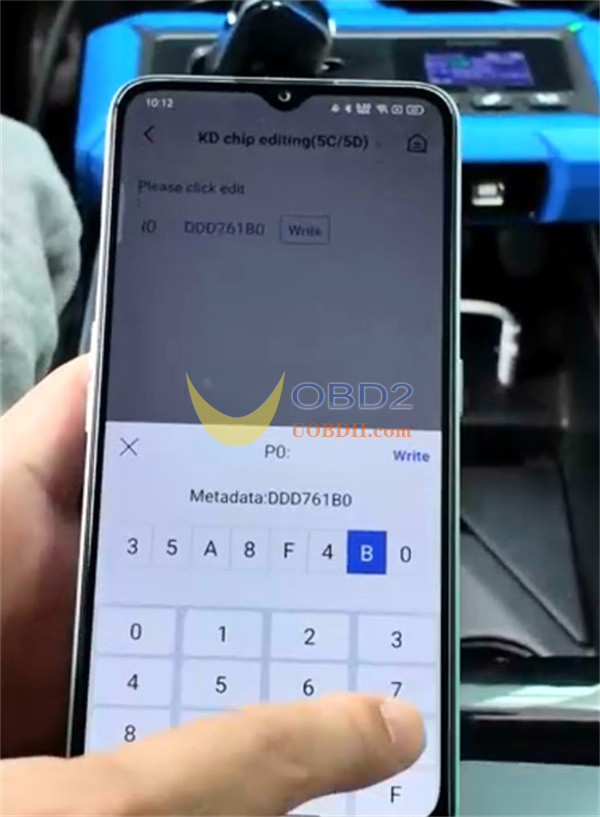
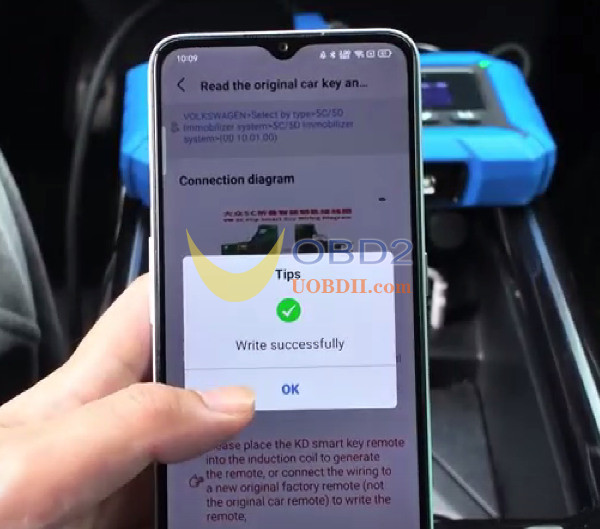
Complete the process by writing the revised ID to the chip. A confirmation message will indicate success.
Step 4: Confirm the Update
Perform another identification of the remote. The information should reflect that the Key ID has been altered to match the original.
Step 5: Finalize with Vehicle Programming
Once the Key ID is synchronized with the original system, you can move forward with teaching the new key to the vehicle by following the standard programming procedure.
